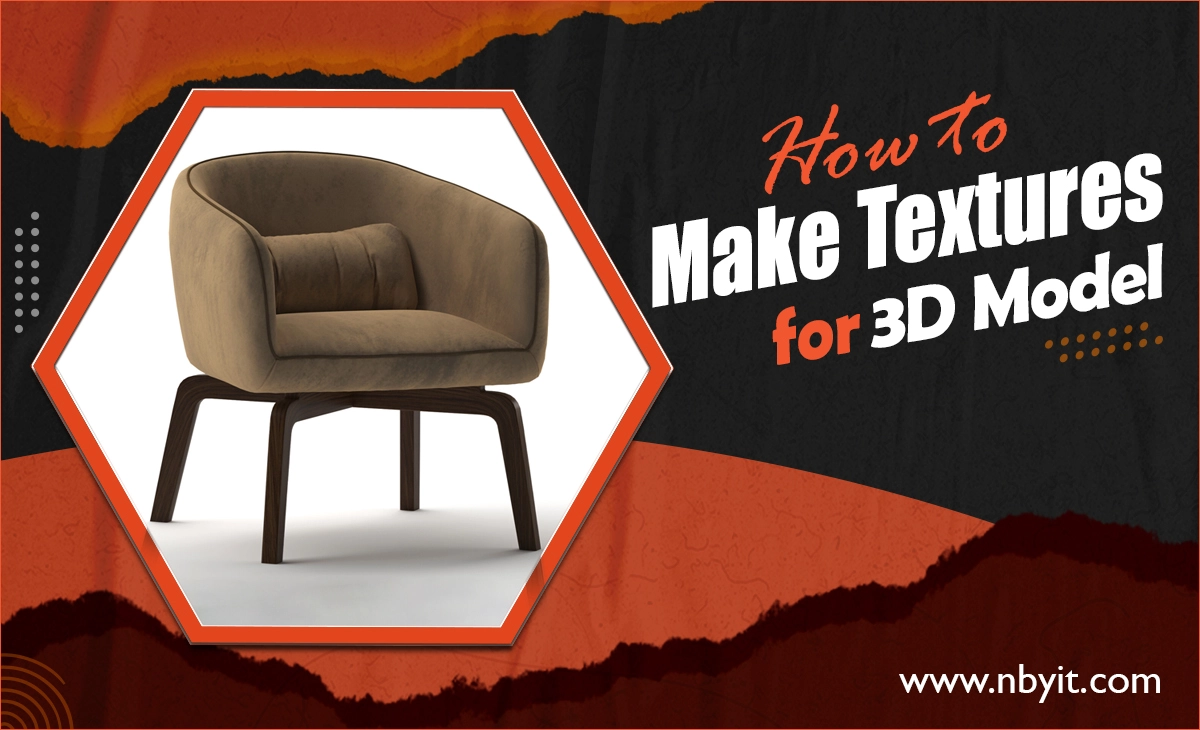
3D modeling, rendering, and texturing are the most used elements these days. 3D texturing is the method of creating or applying texture to a 3D object. It’s adding detail, color, lighting, and texture to the 3D models, making them look realistic. It is an important work for 3D models and also a commonly used work in the 3D modeling field. Texturing tools for creating 3D models are important to learn to master.
Importance of Texturing
How to Make Textures for 3D Models: The use of texturing makes it important. Texturing is an essential component of 3D modeling to make a model lifelike and visually appealing. Texture adds detail to 3D models. It enhances realism and lifelike by adding complexity, depth, complexity, and variation in color, shading, and patterns. The main goal of using texturing is to match the surface of the model with its concept art. Artists need to make the right use of color, roughness, and bump map textures for raw output.
Best Ways to Make Textures for 3D Models
There are many ways to make textures for 3D models. We are going to discuss the best 3D texture software to create texture here. if you follow all the steps hope you will be able to create texture for 3D models easily. Let’s dive in
How to Create Texture with Photoshop
1. Start it: Open Photoshop and import the image that you want to add texture.
2. Choose it: Add your texture image and navigate to where your texture image is saved.
3. Layer it: In the Layers panel, place your texture image on top of your background image.
4. Select it: Make sure the top layer is selected.
5. Blend it: At the top left of the Layers panel, change the blend mode in the dropdown menu from Normal to Overlay.
6. Adjust it: Experiment with different blend modes and try changing the Opacity slider to change the look of the texture on the image.
7. Finish it: Save your project as a PSD file, or export your image as a PNG or JPEG to easily share it online.
How to Create Texture Using Blender
Creating textures for 3D models with the blender is one of the popular ways. Now we will learn how to create texture using the blender. Let’s dive in
1. Prepare the document
Build a new Blender file, erase every default element by pressing A then X, and confirm. With the 3D cursor bursting to the origin of the document (hold shift+S to center), let’s add a plane by pressing shift+A and setting its radius to 2 so that we get a 4×4 Blender units plane.
Press Tab for Edit mode and press W, then from the menu, subdivide the plane a few times.
2. Get started with texture sculpting
To proceed, enter Sculpt mode and activate Dynamic Topology by pressing Ctrl+D. Within the Tool panel on the left, select Constant Detail mode and adjust the size to 1%. Click the Detail Flood Fill option to achieve a uniform and densely packed mesh.
3. Create wood patterns
Within the Symmetry settings found in the Tool panel, activate tiling for all axes (X, Y, and Z). Set the tile size to 2 units. Now, with the Draw brush, initiate the carving of the primary wooden veins. Your brush strokes will naturally replicate on the surface with a consistent offset, producing a seamless and tileable pattern.
To achieve a more authentic look, refrain from using the same pattern excessively. Instead, incorporate a blend of both curved and straight lines. For finer control, consider enabling the Smooth Stroke option.
4. Refine the sculpt
After completing your pattern to create Textures For 3D Models, switch to the Clay Strip brush to impart depth and volume to the veins, aligning with the natural wood grain. The clay strips introduce captivating texture variations to the wood, enhancing its organic appearance. Further refine this texture using the Pinch brush to create a gradual transition at the ends of the veins, emphasizing the peaks and valleys.
For this final stage, it’s advisable to deactivate Dynamic Topology. This prevents Blender from smoothing out the edges and creases, ensuring the desired level of detail and realism in your wooden texture.
5. Prepare the texture export
Rather than relying on texture baking from our sculpt, we’ll opt for a rendering method that circumvents texture distortion due to projection. To get started, we’ll incorporate a camera into the scene. Press Shift+A to add the camera and then adjust its coordinates to X:0, Y:0, and Z:1.
In the camera’s Options menu, which can be found within the Properties panel, configure it to use an orthographic view with a size set to 2 units. This specific setting aligns our orthographic limits with the sculpting tile size we’ve been working with.
6. Set up your passes
Within the ‘Properties’ panel under ‘Render Layers,’ activate the Ambient Occlusion (AO) pass. This step is essential to include both the Z pass and the AO pass when we proceed with rendering.
Next, in the Node editor, enable the Layer menu and select ‘Use Nodes.’ Integrate a File Output node into your node setup. Additionally, create two extra sockets in the N panel (named accordingly). Make sure to designate the path to your designated map folder for saving the output.
7. Convert for output
Connect the Z pass to the File Output node, and you may notice that the resulting image appears predominantly white. To address this, introduce a Normalise node into the setup. This node takes the lowest Z pass value and sets it to 0, while the highest value is set to 1, effectively normalizing the range of values.
Subsequently, route the normalized result into a ColourRamp node, which serves to transform these values into a grayscale image. Finally, ensure that the output of the ColourRamp is connected to the appropriate socket on the File Output node for the desired file export.
8. Prepare your object material
With your sculpted plane selected, go into the Node Editor and create a new material. Now add a Geometry node, a ColourRamp, and an Emission shader.
Use the Pointiness output and increase the contrast by moving the black color ramp flag to 0.45 and the white to 0.55, and plug the result into the Emission shader Colour input. This will allow us to visualize the pointiness or ‘cavity’ attribute of our object. Hope now you can create Textures For 3D Models by using Blender
Procedural Texturing
Procedural textures for 3D models are textures that are developed by the computer using a fixed set of parameters. It can be used to generate surface textures for a variety of applications. For procedural texturing, you need high skills. You can make many variations of the same texture.
With Real-Life Photographs
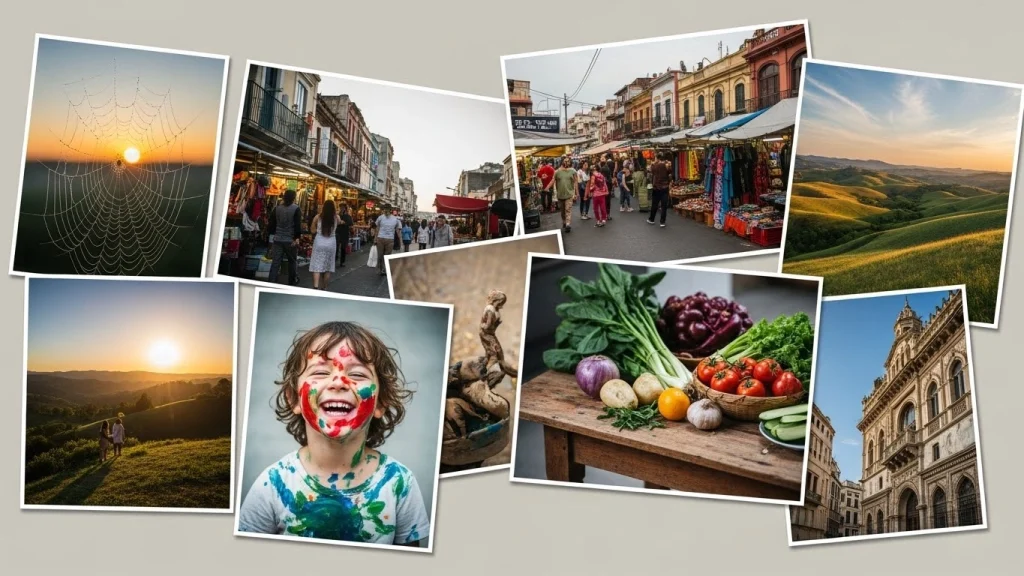
You can create eye-pleasing textures by using real-life photographs. First of all, you have to capture a timber surface to create any 3D model texture that represents timber material. To create realistic surfaces, you can use real-life texture. But, if you want to create proper 3D model textures, you need to photograph the right surface.=
Use Hand Drawings
For doing a hand-drawing painting for 3D modeling, you need to create hand-drawing paper. You need to scan the paper into your computer device. Afterward, you need to import it into your 3D tool. It is an easy way for those who have previous working experience to create Textures For 3D Models and know details about it.
Types of 3D texturing
Creating realistic 3D textures is not an easy task. You have to do practice. There are two types of Textures For 3D Models and those are static and surface 3D texturing.
Static Texturing
In static texturing, you simply design a 2D texture to apply to an already-existing 3D object. These textures exclusively convey the visual information of the texture image. They do not introduce any variations to the surface of the 3D model.
Surface Texturing
Surface texturing allows for many kinds of variation to be applied on the surface of a 3D model. Creating surface texturing can be time-consuming because it involves a higher polygon count, necessitating a more powerful computer configuration for processing. fortunately, many well-known 3D modeling software packages provide robust surface texturing features for users.
Steps of Texturing for 3D Model
Now we are going to discuss how to do texture in 3D modeling. Let’s dive in and learn a step-by-step guide to the texturing of a 3D model.
UV Unwrapping
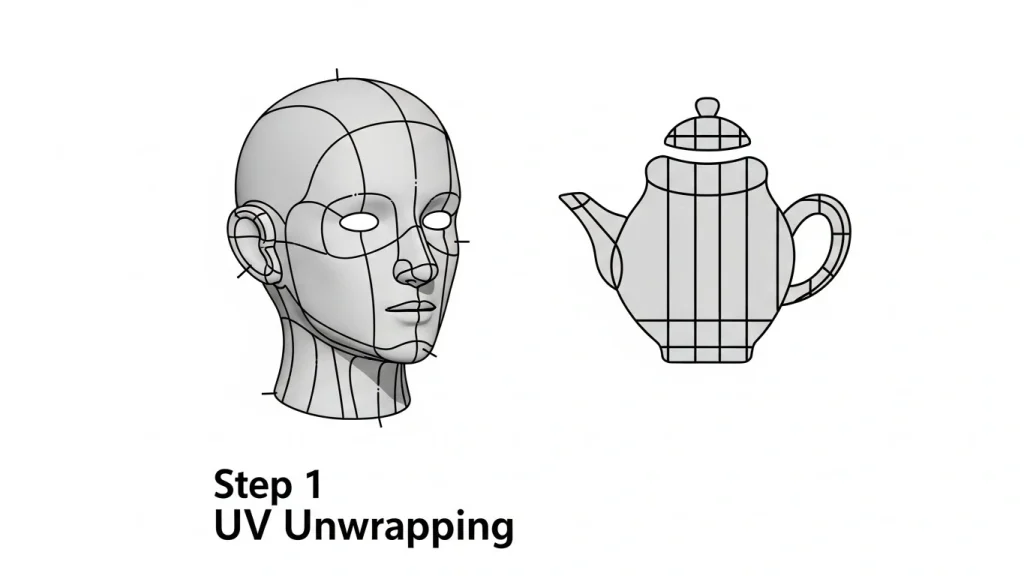
This texturing process starts with unwrapping the 3D model. This unwrapped representation appears as a UV map, where UV represents the two axes of X and Y meaning a two-dimensional model. So when you unwrap your 3D model it is easier to edit its part separately. You have the flexibility to use Photoshop or any other software according to your needs.
Texture painting and shading
3D texture painting involves the application of texture details to a digital model using digital painting techniques. This process focuses on the model’s surface and often involves rotating the 3D model to identify areas that require further refinement. This approach allows artists to identify and address areas for improvement that may not be readily apparent on a flat map.
Texture shading is a method used to convey the three-dimensional qualities and volume of an object. It is frequently employed to enhance the appearance of features like mountains, ridges, and landscapes, emphasizing the protrusions and changes in elevation.
Lighting & Rendering
3D texture rendering aims to generate realistic visuals that integrate ambient lighting, representing the natural light within a given environment. 3D Game characters and assets are often placed in diverse settings, each represented by unique lighting conditions.
To integrate appropriate lighting, artists concentrate all environmental lighting details into a 2D image, which is then applied to the 3D model to create a cohesive visual representation.
3D model texture mapping
Texture mapping is the process of wrapping a 3D model with various types of texture maps, including bump, normal, glossiness, roughness, metallic, and others. This practice aims to seamlessly align a 2D image with a 3D object, accounting for its volume and contours so that every detail precisely matches the appropriate location on the model.
Conclusion
Creation Textures For 3D Models is both an art and a science and with practice and dedication, you can develop the skills needed to produce stunning, lifelike textures for your digital creations. No matter which way you follow but careful about the quality of the work. Make a strategy before starting the work and improve your texture creation skills.


