Overview of Blender Knife Tool
For Blender artists, the knife tool is very familiar and useful. It is used in cutting custom geometry into an existing mesh. It can be used for various purposes, such as creating new edges, splitting faces, or adding intricate details to your models. If you don’t know how to use knife tools in Blender then this article is for you.
Blender 3D modeling software
Blender is a potent open-source 3D modeling software for 3D modeling services. It is known for its versatility and powerful capabilities. It is highly reputed in the industry and offers a wide range of features, including advanced modeling tools designed for handling complicated geometries.

Blender Knife Tool
How do you activate the knife tool?
To activate the knife tool there are two different ways. We describe it given below:
- Select the object and enter Edit Mode.
- Press T to bring up the Tool Shelf in the 3D Viewport.
- Find the Knife button Blender 3D – Sidebar – Knife tool or alternately just press K to activate the Blender knife tool
- Left-click on the edge of the object to start the cut, then continue clicking to other edges to get the desired shape.
- When the last vertex has been placed, press Enter to apply the edge.
How does the knife tool work in Blender?
To access the knife tool, you can do the following steps:
- Go into edit mode for your mesh object(s).
- Ensure the active object is the one whose mesh you want to cut with the Blender knife tool.
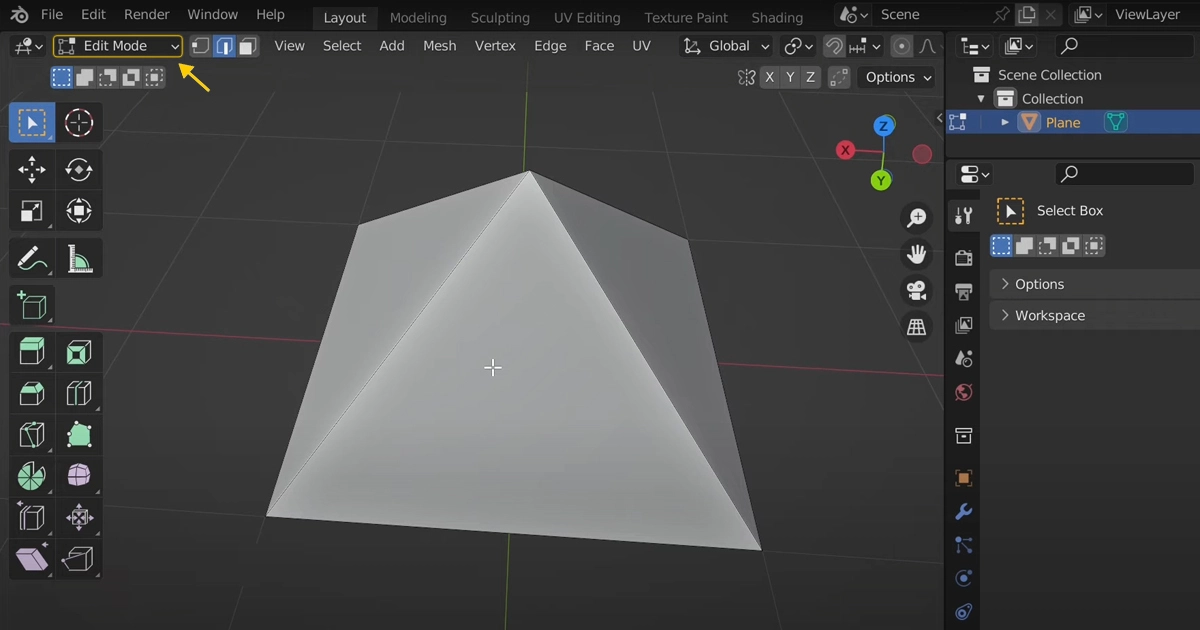
- You can find the knife tool in the tools panel on the left side of the 3D Viewport. If this panel is hidden, you can toggle it by pressing the “T” key. Alternatively, you can press the “K” key on your keyboard to activate the knife tool. Once the knife tool is activated, you’ll see it in the status bar at the bottom of Blender’s interface. These settings provide you with information and options related to the knife tool’s behavior.

How to use knife tool
How to use the Knife Tool in Blender?
Launch Blender and open the project that contains the mesh object you want to work on. If you don’t have a mesh object, you can create one or import an existing one. Select the mesh object you want to edit. Press the “Tab” key on your keyboard or click the “Edit Mode” button at the bottom of the 3D Viewport to enter Edit Mode. Clicking on the “Tools” tab on the left side of the 3D Viewport and clicking on the Knife icon, or you can press the “K” key on your keyboard. Once the Knife Tool is active, you can start cutting the mesh.
Left-click to place the initial cut point. Move the mouse to create a line indicating the direction of the cut. Left-click again to confirm the cut and complete the operation. You can continue to add more cuts as needed, following the same process. To complete the cutting operation, press “Enter” or right-click. The cuts you have made will be applied to the mesh.

Use of Knife tool on Plane Mesh
Use of Knife tool on Plane Mesh
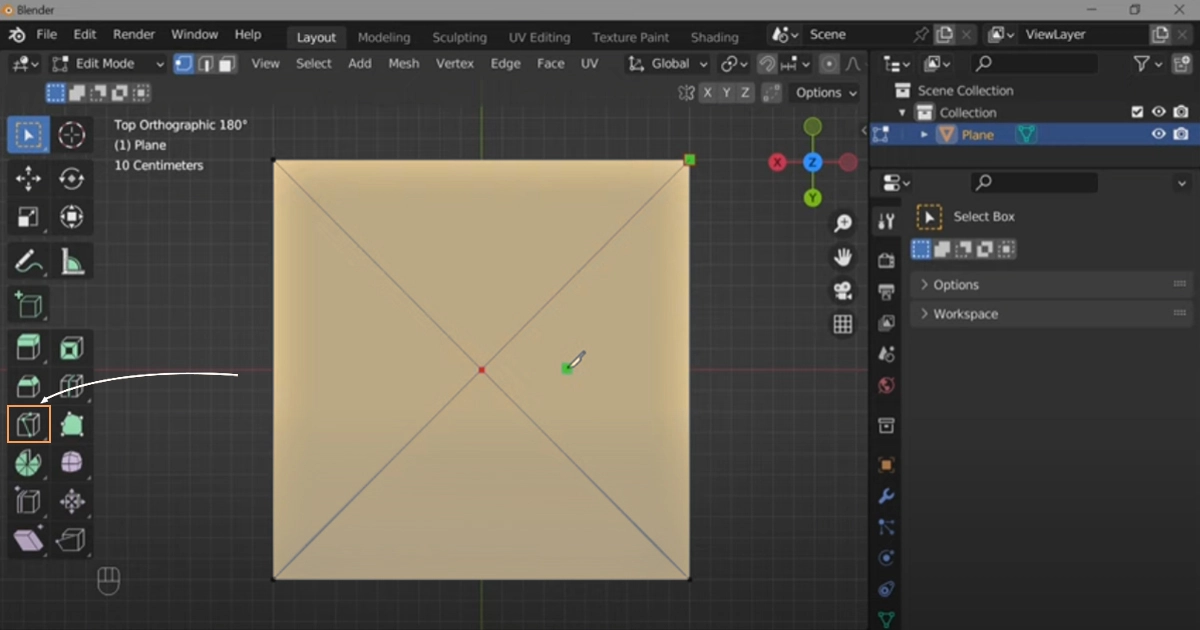
Upon launching Blender 3.0, it will generally start in the default Object Mode, displaying a cube mesh on the screen. However, since our current focus is on working with the plane mesh, you can temporarily hide the cube mesh by pressing the “H” key on your keyboard. After covering the cube mesh, press “Shift+A” to open the Add menu and then select the plane mesh option. You can observe this action in the coexisting image. After a plane mesh appears on the screen, enter Edit Mode and activate the knife tool.
To start cutting into your plane mesh, you can either drag it with the left mouse button or simply click it. At this stage, you’ll likely notice that your cursor retains a colored line attached to it. To conclude the drawing of the knife tool, you can either double-click the left mouse button or press the “E” key. However, be careful not to use the right mouse button, as it will delete the cuts you’ve just created. Finally, to confirm that the cuts have been successfully made on the plane mesh, press the Spacebar” or the “Enter” key. This is a basic blender mash tool.
How to Cut Through a Cube Mesh Using a Blender Knife Tool?
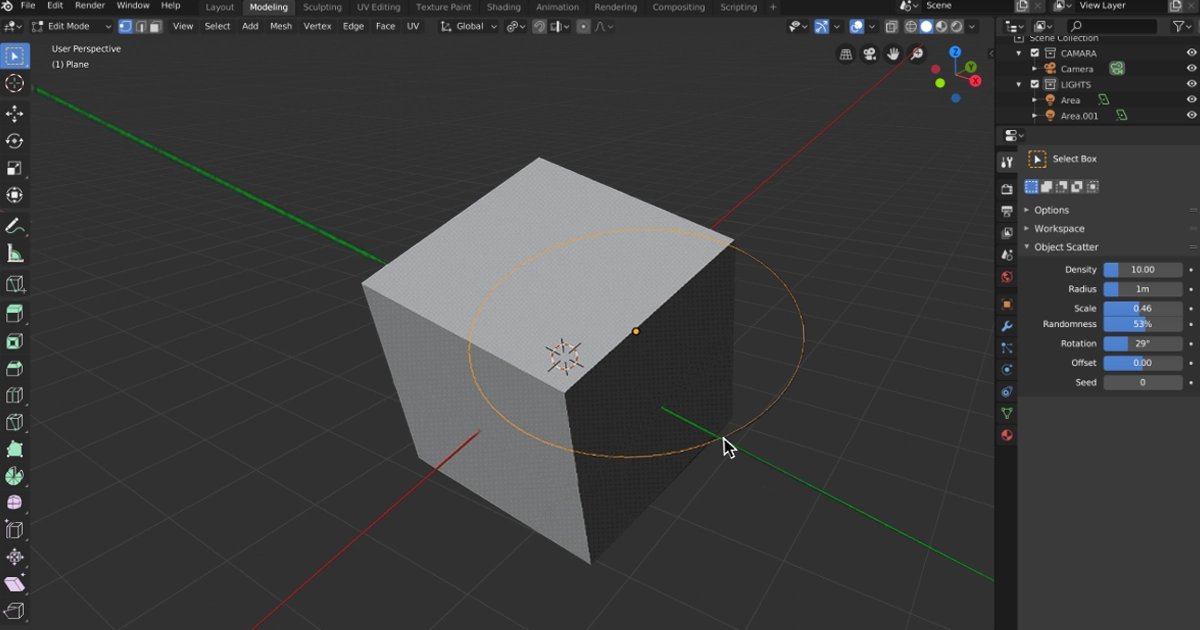
To make cuts on the mesh cube using the Blender knife tool, you can follow a procedure similar to cutting the mesh plane. Enter Edit Mode, activate the knife tool, and commence cutting. However, for a cut to infiltrate the entire mesh, an additional step is necessary. You can achieve this by pressing “K” to activate the knife tool and then pressing “C.” Once “C” is pressed, hold down the “Shift” key while making your cut. When you’ve completed the cut, click and press the “Spacebar.” This will ensure that the cut goes through the entire mesh.
As presented, you may notice that the cut on the left side of the mesh doesn’t fully pass through, whereas the cut on the right does. By this point, you should be familiar with several methods for using the Blender Knife Tool.
What are some common problems with the knife tool?
Most of the beginner faces one problem using the Blender knife tool “fix-all” solution to geometry problems. If you don’t have a proper plan and don’t know how to use it or how topology will look after your cuts, then you have to face hardel with mesh and think the blender knife tool is not working. For example, it’s quite simple to inadvertently create n-gons and triangles within a quad-based mesh by making cuts that disrupt the smooth edge loop flow when not carefully planned.
Final Thought
The Blender Knife Tool is a versatile tool for cutting and creating geometry in your 3D models. Whether you need to make precise cuts, add detail, or create loop cuts, the Knife Tool can help you achieve your desired results.

I am Aeysha Khanom Urmi, a 3D artist with almost 9+ years of experience in the 3D industry. I live in Dhaka, Bangladesh, and work with NBY IT in a full-scale 3D studio. In addition, We/NBY IT owns a big team working on several different creative 3D projects. Sharing in-depth knowledge about 3D is one of my favorite passions.
